How to Record Audio on iPhone [Simple Step-by-Step Guide]

So, you’re looking for the best guide to recording audio on your iPhone? Congratulations, you’ve found it! . The built-in iPhone app is usually the fastest option for a basic result.
Here's how to record and edit using the Voice Memos app on an iPhone. That helps when you want a cleaner digital copy without rescanning the same page again later.
Quick tip:While the Voice Memos app is quite good, it won't let you record a phone call. There are several quality paid apps you can use to record calls on an iPhone should you need to. That gives you a better chance of ending with a readable file on the first pass. A quick settings check usually saves more time than repeating the same action without changing the surrounding conditions.
How to record on iPhone with voice memos
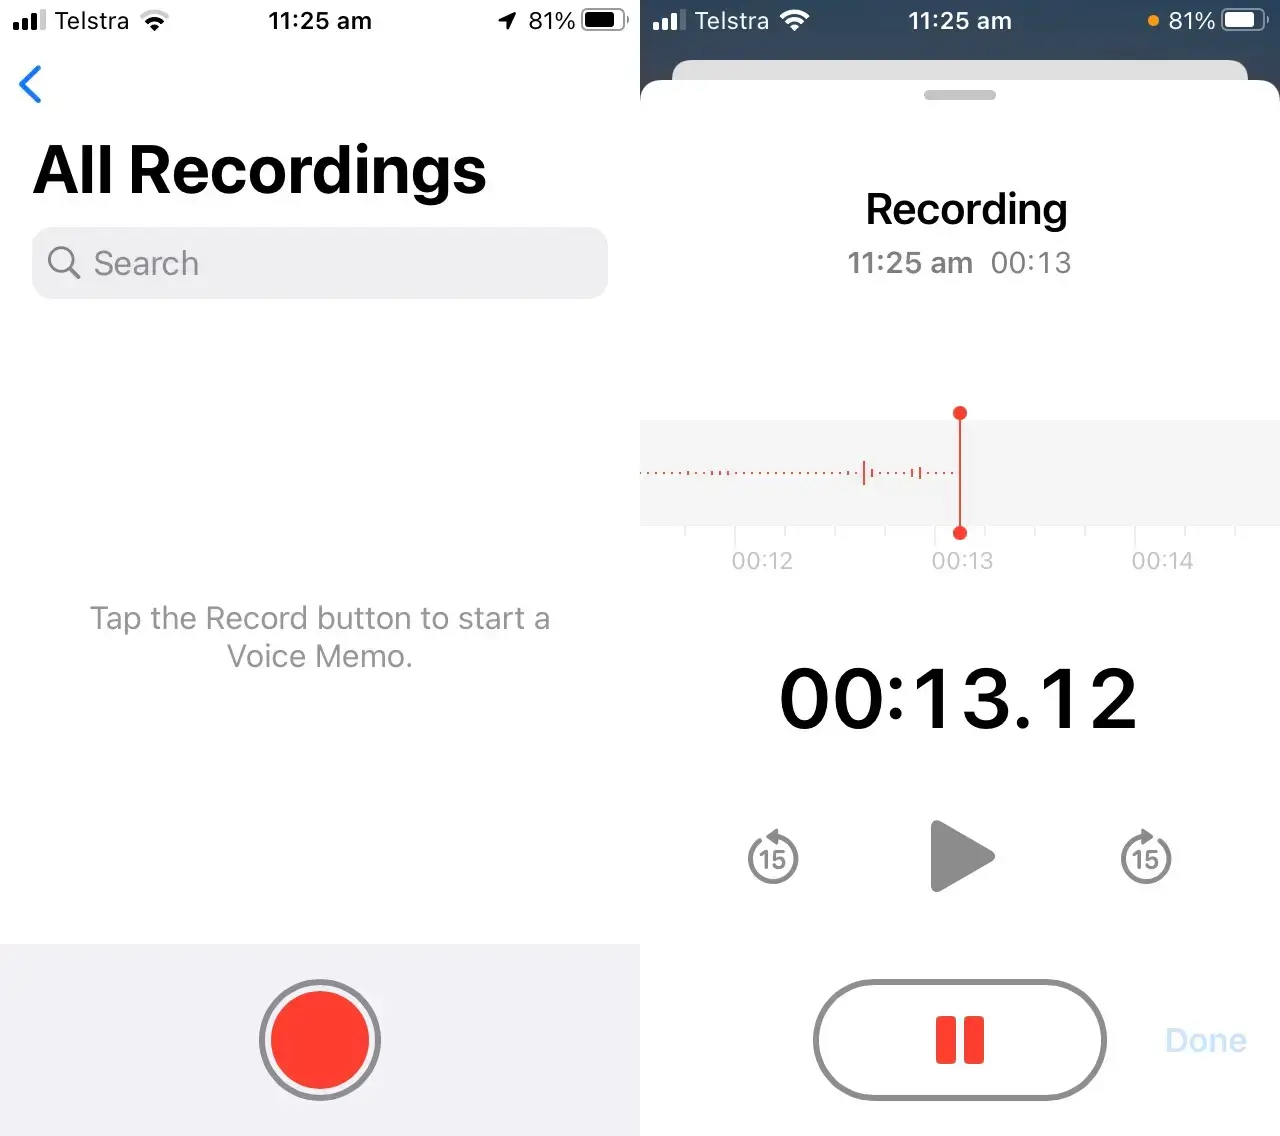
Voice Memos offers a straightforward way to capture audio on your iPhone. Here's how:
Step 1: Launch the Voice Memos app.
Step 2: Tap the red record button on the main screen.
Step 3: Record your audio. When finished, tap either the pause or stop button.
Using Another App While Recording with Voice Memos
You can multitask on your iPhone while recording in Voice Memos, but here are some things to keep in mind:. It is useful when the document will be shared, signed, or saved as a PDF right after scanning.
When using another app, ensure it doesn't play audio. If it does, Voice Memos will halt the recording.
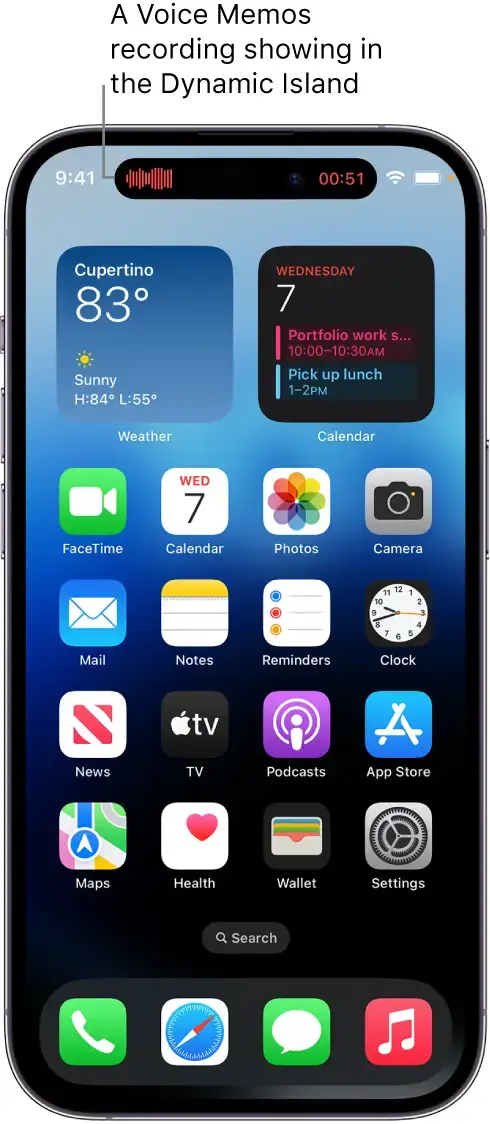
For iPhone 14 Pro and iPhone 14 Pro Max users:
While recording, you'll see an ongoing activity indicator in the Dynamic Island at the top of the Home Screen and within other apps. This makes it easier to keep the scan readable before you export or file it away.
Tap on the Dynamic Island to quickly jump back to Voice Memos.
For a deeper dive into using the Dynamic Island, refer to the "View activities in the Dynamic Island on iPhone" section.
You can also touch and hold the Dynamic Island to enlarge it. A "Stop" button appears upon expansion, enabling you to end the recording without switching back to Voice Memos.
Use the advanced recording features
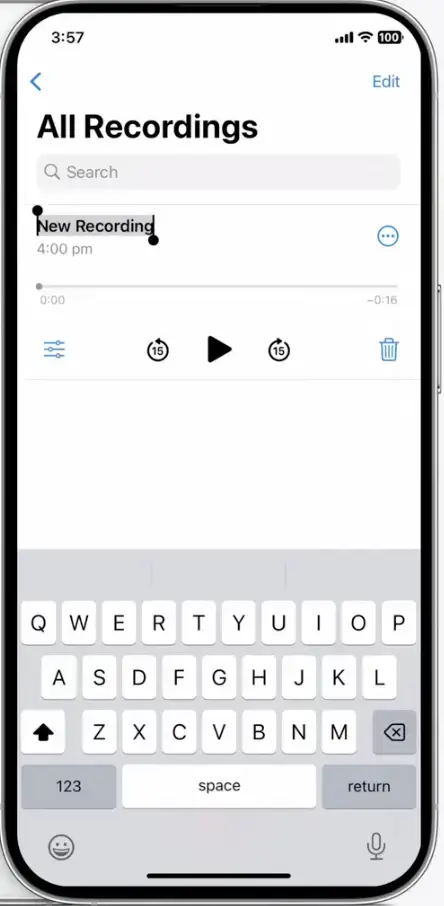
Rename Your Recording
Rename your recording by typing in the title text box.
Adjust Playback Speed
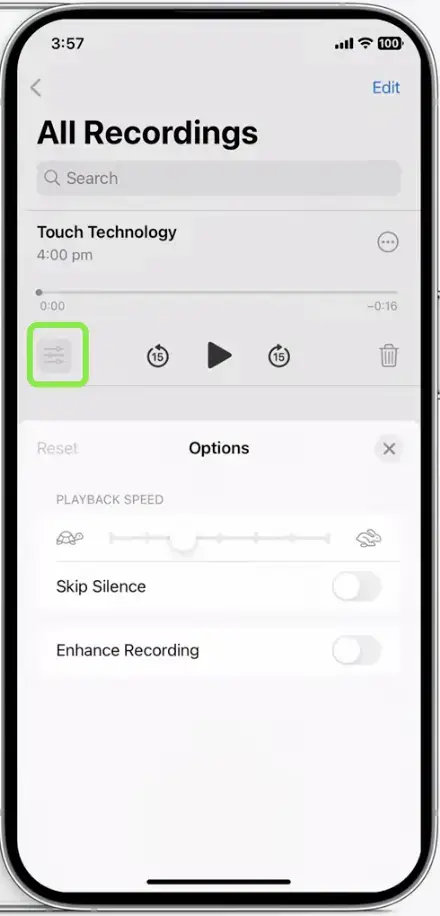
You might want to adjust the playback speed for several reasons. Maybe you want to quickly review a lecture, or perhaps you're aiming for a special audio effect. Here's how to do it:. That is worth checking before you save the scan, especially if the document has small text or uneven lighting.
To speed up the playback, slide to the right (towards the hare).
To slow down the playback, slide to the left (towards the turtle).
If you don't want any change, simply reset the slider to its original position.
Skip Silence Feature
The "Skip Silence" function can be a game-changer for certain recordings. . If you need more control, compare the built-in tool first so you know what is missing.
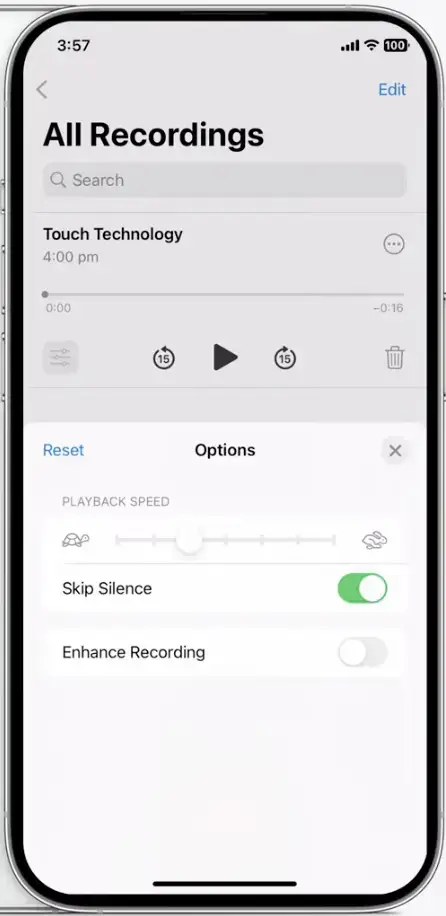
When activated, it automatically trims silent parts in your recording.
Perfect for:
Lectures: Quickly get to the content without long pauses.
Podcasts: Smooth out dead air and enhance the flow.
Remember:
It's a non-destructive edit. The silence isn't gone forever.
To revert, go to settings and toggle "Skip Silence" off.
Enhance Recording Feature
The "Enhance Recording" option can dramatically uplift your audio quality.
Tapping "Enhance Recording" lets your iPhone automatically apply tailored effects to optimize the audio.
Notable effects:
Significant reduction in room noise and echo.
Introduction of compression to make the voice pop.
Example:
Without enhancement, your recording might capture room noise, echoes, reverb, and even background sounds like air conditioning. But when you activate the "Enhance Recording" feature, these disruptions are minimized, resulting in a more polished, clear audio output. It also keeps the document easier to review later if you need to send or sign it from the same device. If the first method does not work, compare software version, device compatibility, and account status before repeating the same step.
Share Your Recording
After perfecting your voice memo, sharing it is a breeze. Here's a step-by-step guide:
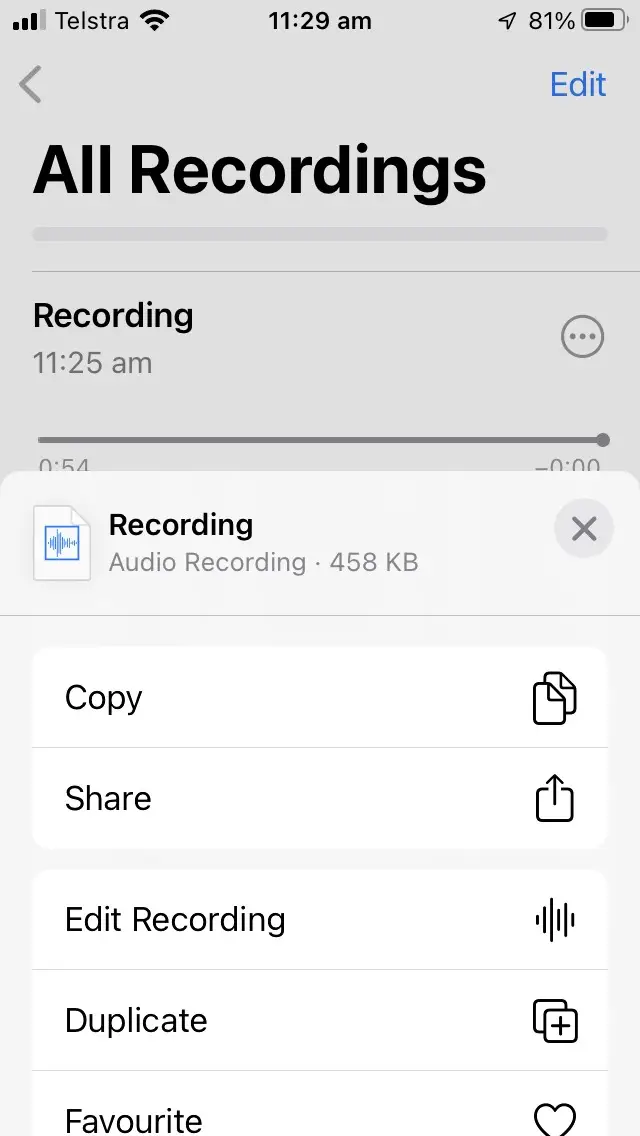
Step 1: Finish and review your recording in the Voice Memos app.
Step 2: Tap the ellipsis (three dots) icon on the top-right of your recording's tile.
Step 3: Choose 'Share' from the dropdown.
Step 4: Pick your preferred sharing method, be it via email, social media, or another platform.
Delete and Recover Recordings
Sometimes you'll need to redo or clear out recordings.
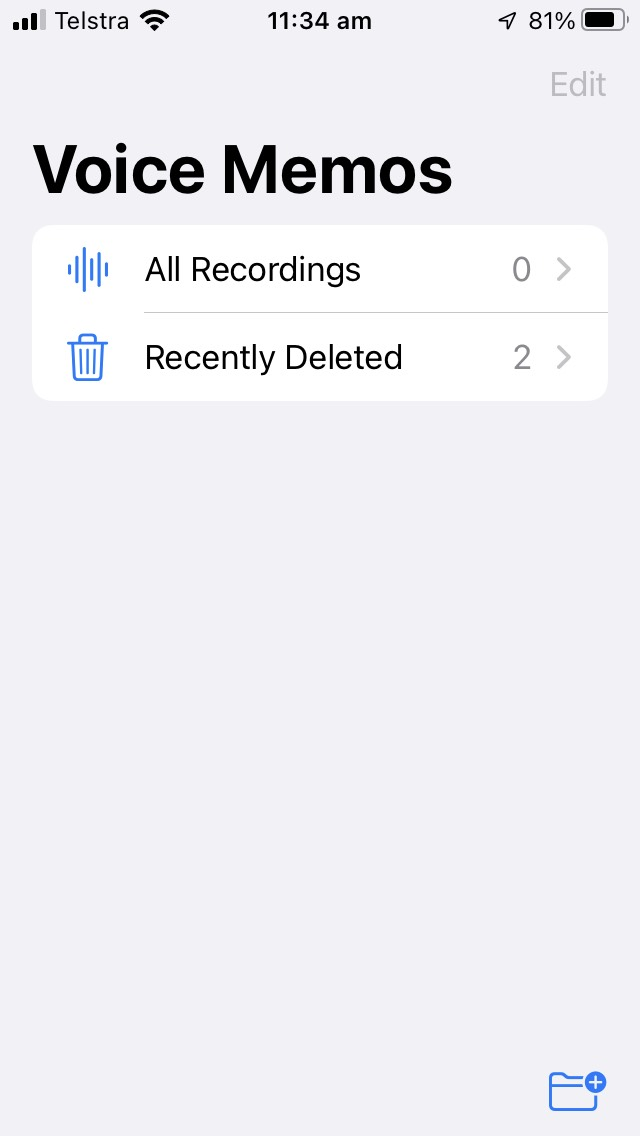
Step 1: Go to ‘All Recordings’ and tap the recording you wish to delete.
Step 2: Tap the trash icon at the bottom-right of its tile.
Note: Deleted recordings aren't immediately gone. They remain in the "Recently Deleted" folder for 30 days.
Step 3: To restore a recording:
Visit "Recently Deleted."
Choose your recording.
Tap "recover" at the bottom-left.
Step 4: To permanently delete:
In "Recently Deleted," select the recording.
Tap "delete" at the bottom right.
FAQ & Tips
Is there an app to record calls on an iPhone?
Indeed, Apple's dedication to privacy means that iPhone users face certain restrictions when it comes to recording phone calls.
Apple's Privacy Stance:
Apple's commitment to user privacy ensures that users' conversations are not easily intercepted or recorded without proper authorization.
App Store Limitations:
Regular apps available in the App Store are prohibited from accessing and recording sounds during phone calls. This restriction is due to Apple's privacy policies and the potential misuse of such capabilities.
What Can You Do?
If you have a legitimate need to record phone calls (with all parties' consent), you might need to consider third-party services or external devices. Always remember to stay compliant with local laws regarding phone call recordings.
