
weak security wifi iphone
Have you received a weak security warning on your iPhone after doing an update? Don't worry because this is a normal warning and does not mean someone has hacked your iPhone. Troubleshooting usually works best when you move from the simplest checks to the more disruptive fixes.
weak security wifi iphone information
Let's see the different methods of dealing with this warning message! If the menu looks different on your device, compare the software version before assuming the feature is gone.
Part 1. A brief introduction to Wi-Fi security history
Security protocols are used to Make sure that Wi-Fi is secure. The different protocols include:
- WEP; Wired Equivalent Privacy is one of the oldest security protocols. Other protocols have been developed to replace it, meaning it is not secure enough because a hacker can decrypt it. If a step looks different on your device, the app version is usually the first thing to compare before assuming the feature is missing.
- WPA/WPA2; Wi-Fi Protected Access (WPA) was temporarily used instead of WEP due to additional security measures that it had until WPA2 was developed. WPA2 is the most common protocol implemented on many routers. A quick check of the device model, software version, and account state usually explains why the same menu looks different on another device.
- WPA3; which is the latest protocol that is considered more secure and the best among the security protocols.
Part 2. Ways of Fixing "weak security" warning
1. Switch your security settings
The weak security warning on your iPhone results from the security of your router or access point. So you need to have access to a router to get rid of this warning.
The general steps of getting rid of the "weak security" include:
- Use a browser to log in to your router by providing the IP address 192.168.1.1 or the hostname.
- Locate the Security Settings of the router.
- Finally, switch the protocols to WPA2 orWPA3 and the encryption type to AES and save the changes.
You should select the WPA2 only and not the combined WPA/WPA2 option.
To change the Wi-Fi security for specific routers, follow the guidelines below.
1. On Hitron CGNM-2250
- Using a browser such as Google Chrome, type the IP address 192.168.0.1 and search.
- On the login page that will appear, enter the information below: Username: cusadmin Password: it can be presented as: "passphrase, S/N, pre-shared key or password." The password is printed in white on the top or side of the modem, and it is case-sensitive, meaning you will have to type it exactly as it is presented. That makes it easier to keep a copy of the edited result and post it right away from the same device.
- Click the Login option and select the "Wireless" option.
- Shift the settings from "Auth Mode" to "WPA2-PSK," and the encrypt mode as "AES" and save the changes.
- Repeat the steps for 2.4GHz and 5GHz networks.
2. Cisco DPC3848V
- Using a browser such as Google Chrome, type the IP address 192.168.0.1 and search.
- On the login page that will appear, enter the information below: Username: cusadmin Password: it can be presented as: "passphrase, S/N, pre-shared key or password." The password is printed in white on the top or side of the modem, and it is case-sensitive, meaning you will have to type it exactly as it is presented. This helps when you want to export the clip, send it quickly, and avoid another round of cleanup edits.
- Click the “Login” > “Wi-Fi/Wireless” > “Wi-Fi Security” option.
- Shift the settings from "Security Mode" to "WPA2-Personal," and the encrypt mode as "AES" and save the changes.
- Repeat the steps for 2.4GHz and 5GHz networks.
3. Arris SBG6782
- Using a browser such as Google Chrome, type the IP address 192.168.0.1 and search.
- On the login page that will appear, enter the information below: Username: cusadmin Password: it can be presented as: "passphrase, S/N, pre-shared key or password." The password is printed in white on the top or side of the modem, and it is case-sensitive, meaning you will have to type it exactly as it is presented.
- Click the Login option and select the "Wireless" > "Primary Network Settings" option.
- Shift the settings from "Wireless Security" to "WPA2-PSK," and the encrypt mode as "AES" and select "Apply" the changes.
- Repeat the steps for 2.4GHz and 5GHz networks.
4. Cisco DPC3825
- Using a browser such as Google Chrome, type the IP address 192.168.0.1 and search.
- On the login page that will appear, enter the information below: Username: cusadmin Password: it can be presented as: "passphrase, S/N, pre-shared key or password." The password is printed in white on the top or side of the modem, and it is case-sensitive, meaning you will have to type it exactly as it is presented.
- Click the Login option and select the "Wi-Fi/Wireless" > "Wireless Security" option.
- Shift the settings from "Wireless Security Mode" to "WPA2-Personal," and the encrypt mode as "AES" and save the changes.
2. Disable and Enable the Private Address
Another option you can try is enabling the private address when logging in to a network that is not yours and disable the private address when connecting to your network.
Enabling the private network will allow you to use the internet without being tracked down.
To disable the Private address:
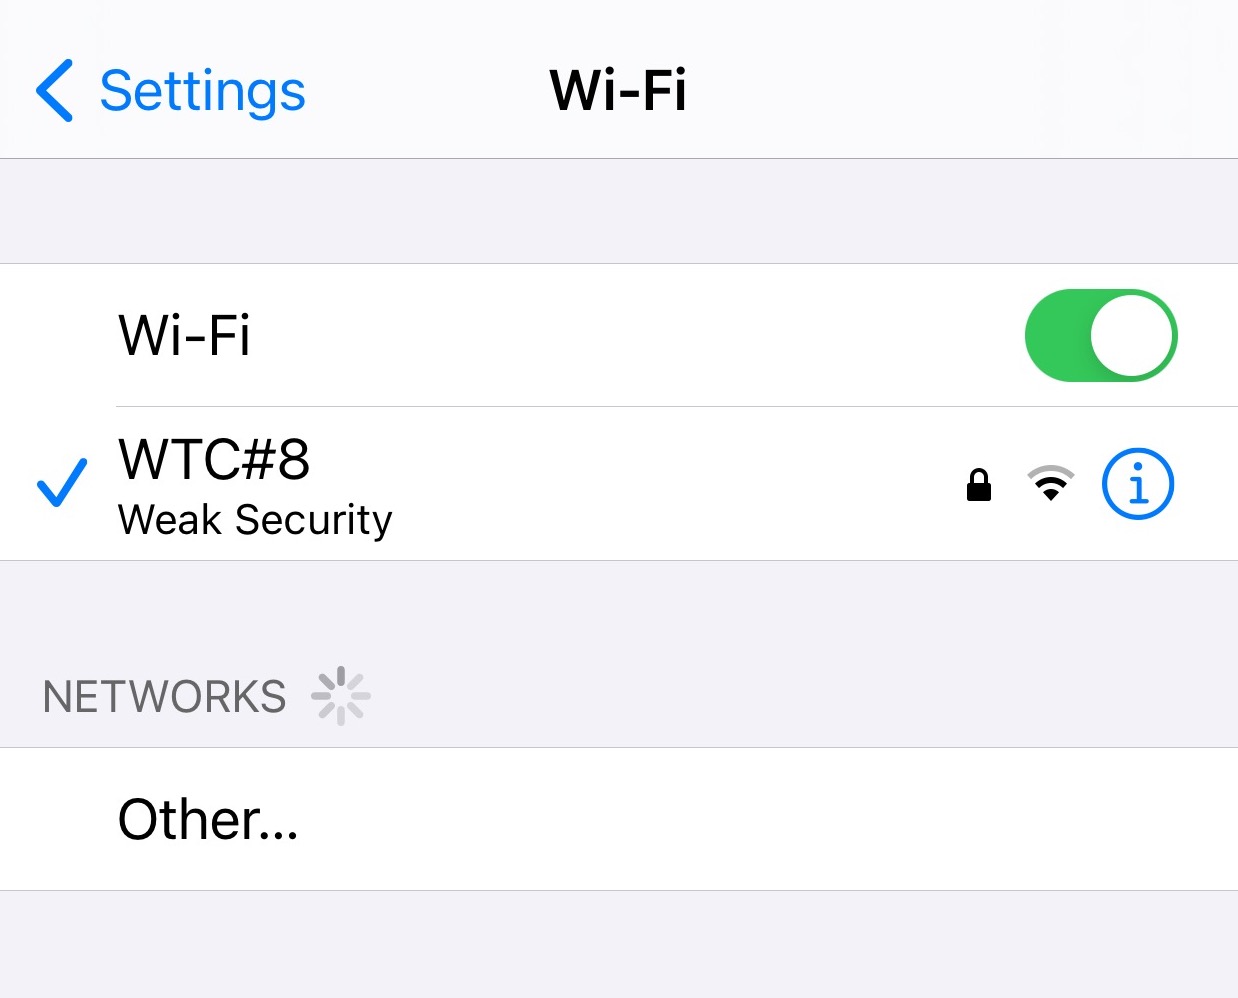
- Navigate to settings > Wi-Fi
- Select the icon labeled "i," then toggle the button for Private Address so the next part of the process is easier to complete without backtracking. This is useful when the speed change should affect only one section instead of forcing the whole clip to slow down.
- Click Rejoin option, and the private address will be disabled. You will get a Wi-Fi Security Warning.
Disabling the private address will Make sure that your router assigns the same Mac address whenever connected to your network.
If you need to enable the Private Address, follow the steps above and Make sure that the Private Address is toggled and shows a green color.
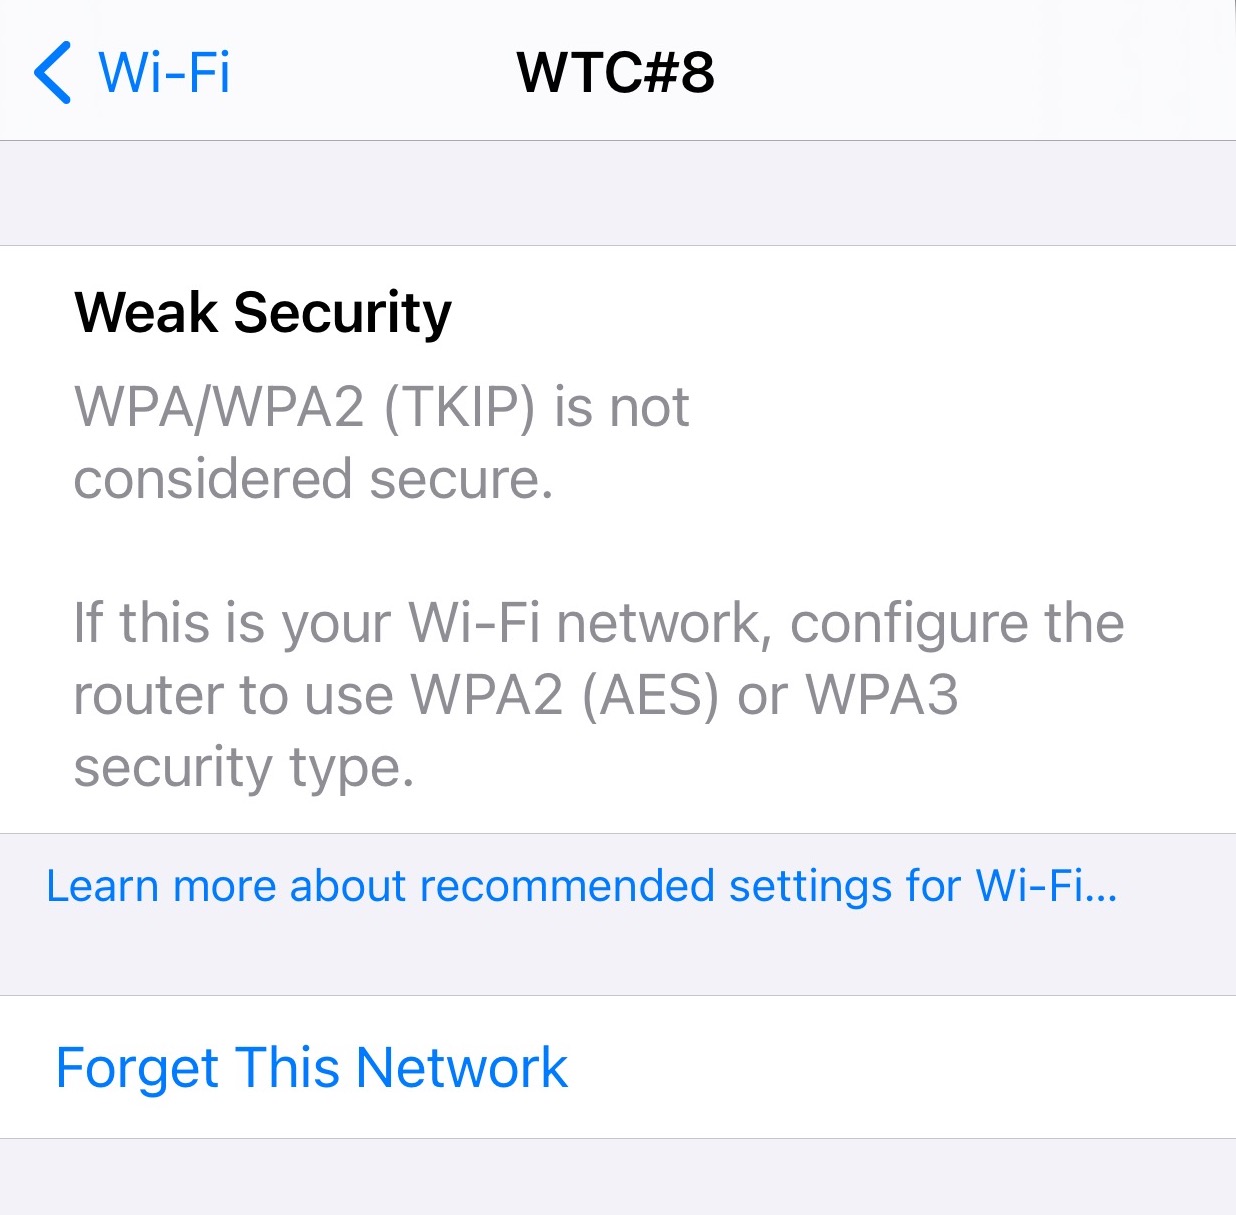
If you wish to learn more about the feature, you can click the icon "i," click the network name, and click the link that will be provided.
Part 3. Solutions when the warning persists
After trying the last two tips and the warning is still there, you could restart your phone or reconnect to the Wi-Fi.
1. Restart your phone
You can try solving the problem by restarting your iPhone. To restart different models, follow the steps below.
To restart iPhone X, 11, or 12;
- Press either of the volume buttons together with the side button till the power slider appears so the next part of the process is easier to complete without backtracking. It gives you finer control when only one moment should stay slow and the rest of the recording should play normally.
- Drag the slider and shut down the iPhone. After a few seconds, you can press the side button again.
For iPhone SE (2nd Generation),8,7,or 6;
- Long-press the side button until you can see the slider.
- Drag the slider to switch off the iPhone, then after like 30 seconds, press the side button till the logo appears.
For iPhone SE (1st Generation), 5 or earlier versions;
- Press the top button long enough to see the slider so the next part of the process is easier to complete without backtracking. That matters when you only want one part of the video to play back slower while the rest keeps its normal speed.
- Drag the slider to switch off the iPhone. After a few seconds, long press the top button again to turn it on.
2. Reconnect to the Wi-Fi
If the weak security warnings persist after using the methods outlined above, there is one more method that you can try. Go to the Settings > Wi-Fi Settings > Forget This Network so the next part of the process is easier to complete without backtracking. After forgetting the network, you can provide the network security key to connect again. If one step does not change the behavior, move on instead of repeating it several times.
To sum up, the weak security warning is a result of your router settings. That means your router's security protocol is not strong enough and needs to be changed to a more secure protocol.
The different methods outlined above have been proven and will help you fix the weak security warning.