
Selecting files one by one on Mac is easy, but selecting several at once takes a different shortcut. That is especially true when the files you want are not adjacent to each other or are out of order.
But it's quite easy once you know how. In this article, we'll show you five practical ways to choose several files at once, and you'll also get a few tips to manage files on your Mac more smoothly.
Way 1: Select Multiple Items Without Order
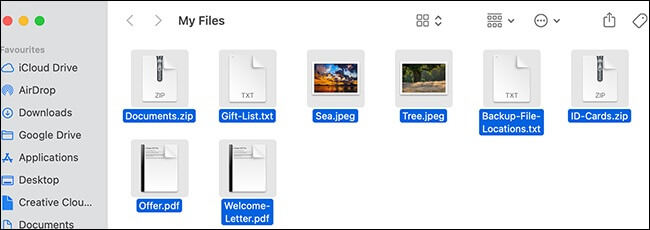
The first method lets you select more than one file without following any order. You can use it when you need only some files in a folder and they are not adjacent to each other.
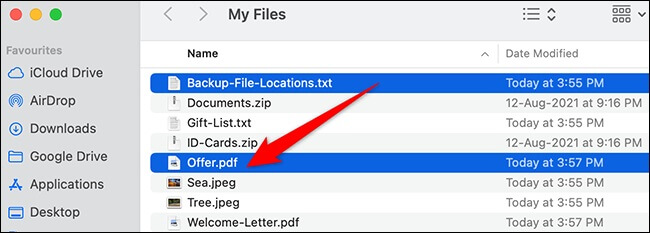
Multiple Items That not adjacent is selected
Steps
- Press and hold the Cmd (Command) key.
- Click on as many files as you want.
- Release the Cmd button.
Way 2: Click and Drag the Items
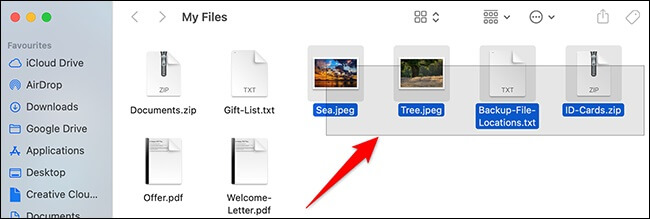
You can create a selection box if you want to grab a large group of files fairly quickly. As you drag around the files you want, Finder selects everything inside the box.
This way, you can click on the selected files and perform other actions, such as deleting or moving them to another folder. It's especially helpful when selecting multiple items with a mouse or trackpad in Finder's Icon view.
Steps
- Firstly open your folder.
- Now click on the first item, hold and drag it slightly.
- You will see a blue line around the other files as you drag them. Now you get a box that resizes as you drag it.
- Release the mouse button when you have selected all the files you want.

Multiple Items is selected
Way 3: Select all Items at Once
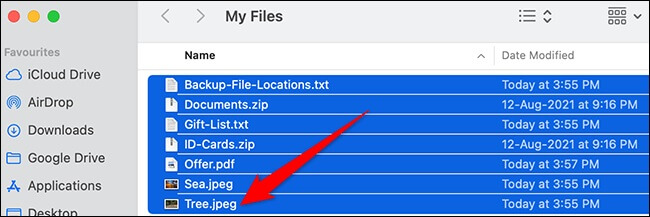
If the files you want to select are in one continuous range, such as top to bottom or left to right, selecting them will be easy. To do this, follow either of these options:
Command+A Option
- Click on the Finder window to make it active.
- Hit Command+A on your keyboard.
- All the files in that folder will be selected.
Multiple Items in a sequence are selected
Select All Option
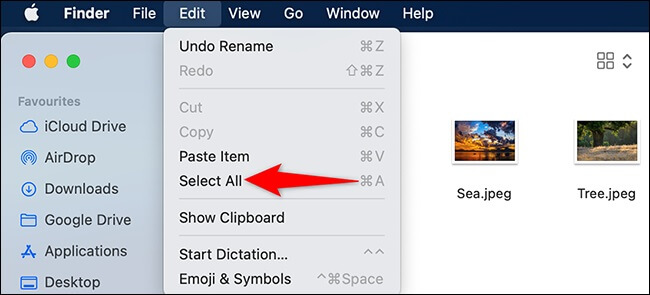
Select All from the dropdown menu
You can also select all items by using the Select All option in the Finder. To do this:
- Click on the Finder window to make it active.
- Click on the Edit menu at the top.
- Click on Select All from the dropdown menu.

Way 4: Select Multiple Items That are Adjacent
You can use this method to select files next to one another in a Finder list or column.
Adjacent Items is Selected
Steps To select multiple adjacent files:
- Click the first item.
- Hold Shift.
- Click the last item.
All items between will be selected. This method works across current Finder views on MacBook Air, MacBook Pro, and desktop Mac models.
Can't Select the Files? Check the Reasons Below
Maybe you have selected the files but still can't edit or delete them. Here are common reasons that could be the culprit:
You Are Using Incorrect Keys Combination
This is a common reason for not being able to select files. Remember, the shortcut keys are different for selecting, copying, deleting, and moving files.
For example, the shortcut key to copy a file differs from the shortcut key to delete a file. Often new Mac users mistakenly use the shortcut key to copy a file when they want to delete it.
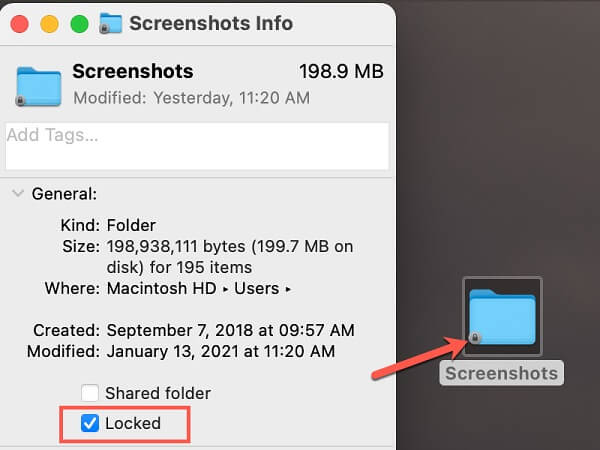
The Files Are Locked
If you try working with locked files, Finder may let you click them but still block edits or deletion until the lock is removed.
Here is how you can change it:
- Click the file to select it.
- Click the File menu at the top and select Get Info.
- In the General section, you will see the Locked option.
- Clear the box next to it. Now you should be able to edit or move the file.
The File is Locked
Your Are Doing Wrong Mouse Clicks
Check if you're using the right mouse click. For example, left-click selects an item, while right-click opens the shortcut menu.
There's A Problem With MacOS
Sometimes Finder or macOS stops responding and doesn't let you select files normally. In that case, restart your Mac and test again after Finder reloads.
You Are Dragging Incorrectly
When you drag files to select them, start in empty space near the files you want. Many new Mac users click directly on one file first, but you just need to start in empty space and drag across the files you want to include.
How Do I Delete Files on My Mac via Trash?
When a file is deleted, it usually goes to Trash first, whether you press “Command Delete” or drag the file to Trash. If you want to delete some files permanently, you need to remove them from Trash too.
Steps
- On the Dock, Click on the “Finder” icon.
- The Finder window will open.
- Open the directory you wish to open and select the files you want to delete.
- Right Click and select “Move to Trash” to delete the files.
- Alternatively, you can delete files by dragging the file to the Trash icon on the Dock.
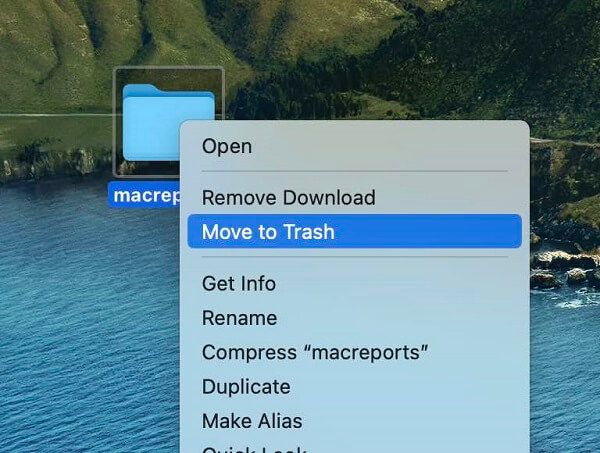
Choose “Move to Trash”
How to Find the Deleted Files on My Mac?
It's common to accidentally delete some files when cleaning your Mac or just going through old files. And you can recover the deleted files on Mac easily.
Steps with Trash:
To recover files from trash, perform any of the three options by opening Trash.
- Drag the deleted file out of the trash.
- Select the files you wish to restore, click “File”, and click “Put Back”.
- Copy the files you want to restore and paste them somewhere safe outside the Trash.
Steps with Time Machine Backup
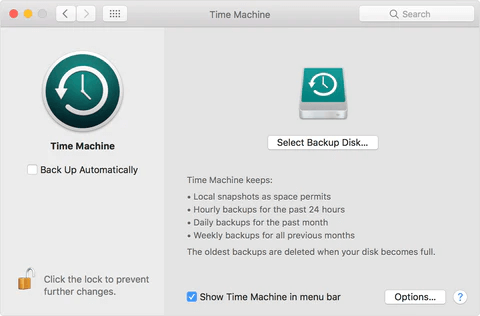
Time Machine is the built-in Mac backup and recovery tool. If you back up your Mac regularly, you can restore deleted files from an earlier snapshot.
- Make sure the Machine backup is turned on.
- Open the folder where the deleted file was stored.
- Click the Time Machine icon.
Time Machine Backup on Mac
- Find the deleted file by scrolling the screen or using the search field.
- Select the files to be restored and press “Spacebar” to make a preview of it.
- Now click Restore to recover the files from Time Machine.
1. How do I view all my Mac files?
Finder is the easiest place to view most files on your Mac. Hidden files usually need an extra command before they appear.
- Open the Terminal.
- Enter the right command to “Show Hidden files on Mac”.
All your hidden files will show, but you should be careful when dealing with these files.
2. How do I find the location of a file on my Mac?
The simplest method to find the location of a file on Mac is by using Finder Path Bar. Steps:
- Open Finder.
- Go to View.
- Click Show Path Bar.
The location will appear in the Finder window when the Path Bar is turned on.
3. How do I open zip files on my Mac?
The simplest and easiest way to open a zip file on Mac is by using a built-in extraction tool. Simply find the zip folder you want to open and double-click the file. The file will open in the same location as the original zip folder.
Selecting multiple files on Mac is simple once you know which shortcut fits the job. After a little practice, Command-click, Shift-click, and drag-select become much faster than picking files one at a time.
Visit Mobitrix for more information about Mac!